
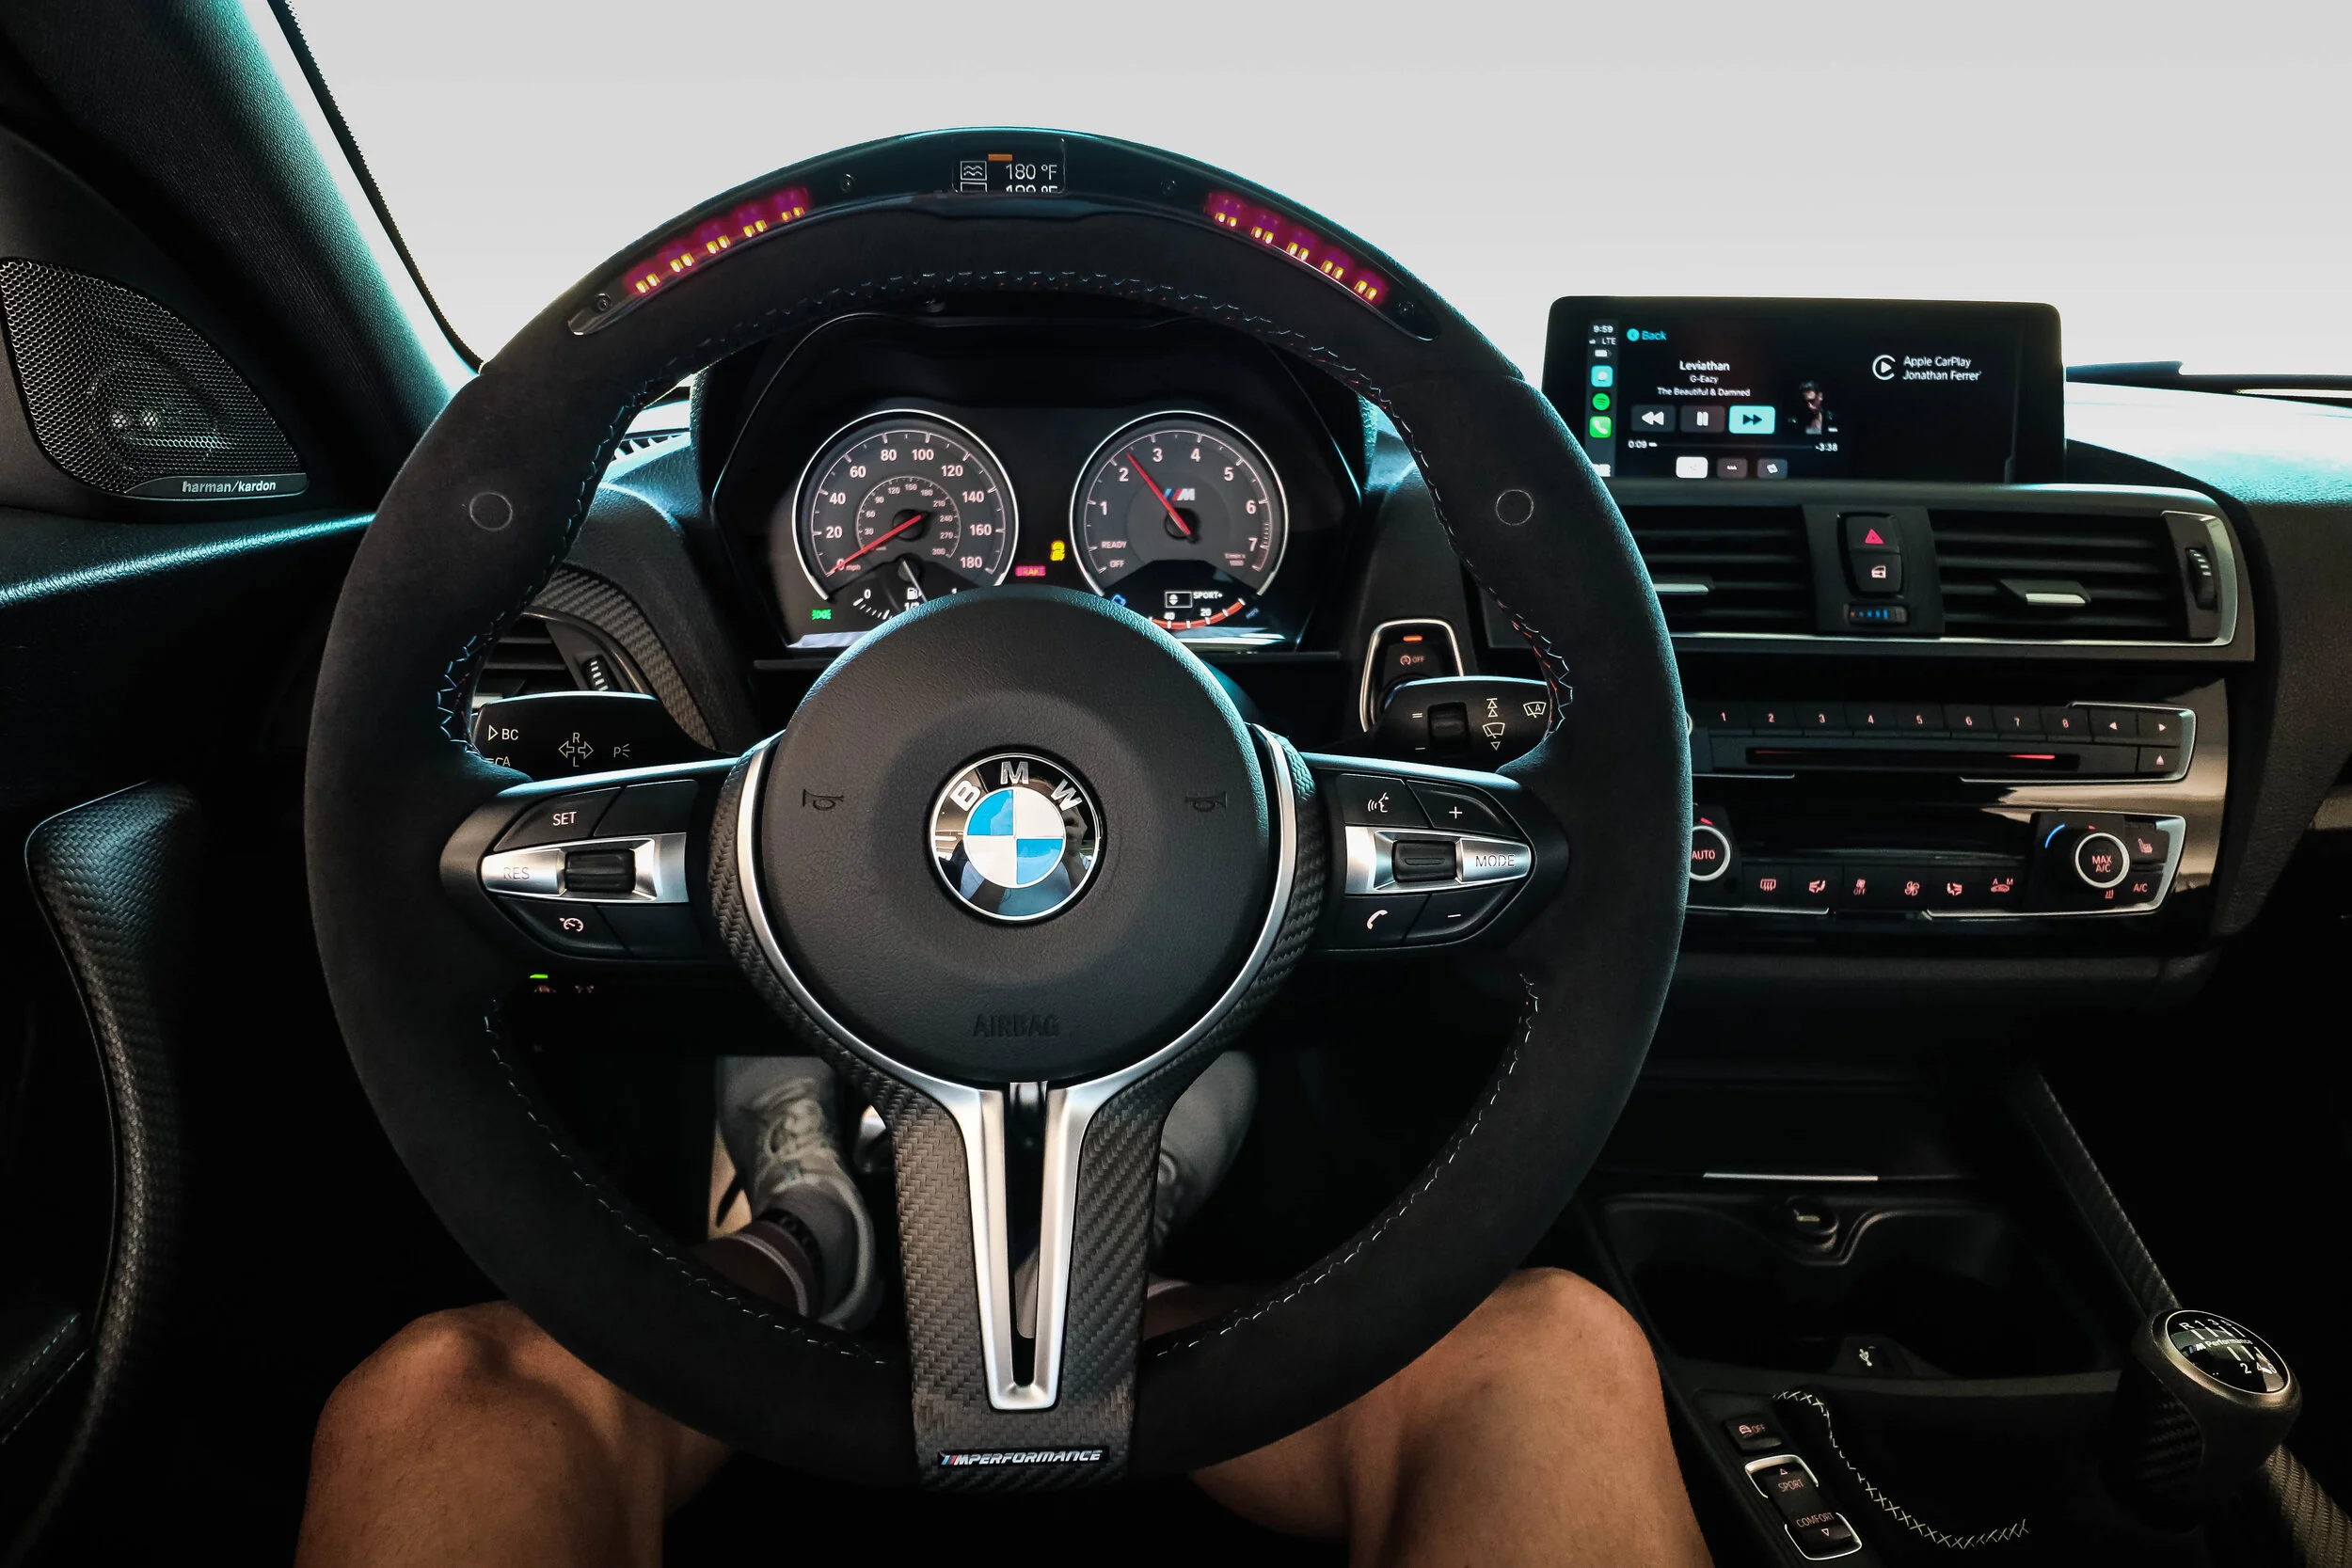
The holy grail of steering wheels. This was an incredible purchase and well worth the money spent. This is step by step guide on how to install this steering wheel into the F87. However, the steps will be nearly identical for the F80 and F82.
You can purchase the entire retrofit kit that I have HERE.
These are the tools needed for the job:
Pick tools - Buy Here
10mm Socket - Buy Here
7mm Socket - Buy Here
Coat Hanger - Look in your closet
Impact Drill Set - Buy Here
T20 Torx - Buy Here
Screwdriver - Buy Here
Needle Nose Pliers - Buy Here
Electrical Tape - Buy Here
Small LED Light (optional) - Buy Here
You will also want to download the BMW M Performance Steering Wheel install instructions. They are helpful for referencing wires, etc. You can do that HERE.
Alright, first step to the install. Disconnect negative terminal on the battery, this is a10mm nut. Set the negative terminal aside, wrap it in a towel. It is also wise to tie a towel around your trunk latch in case it accidentally closes and you get locked out.

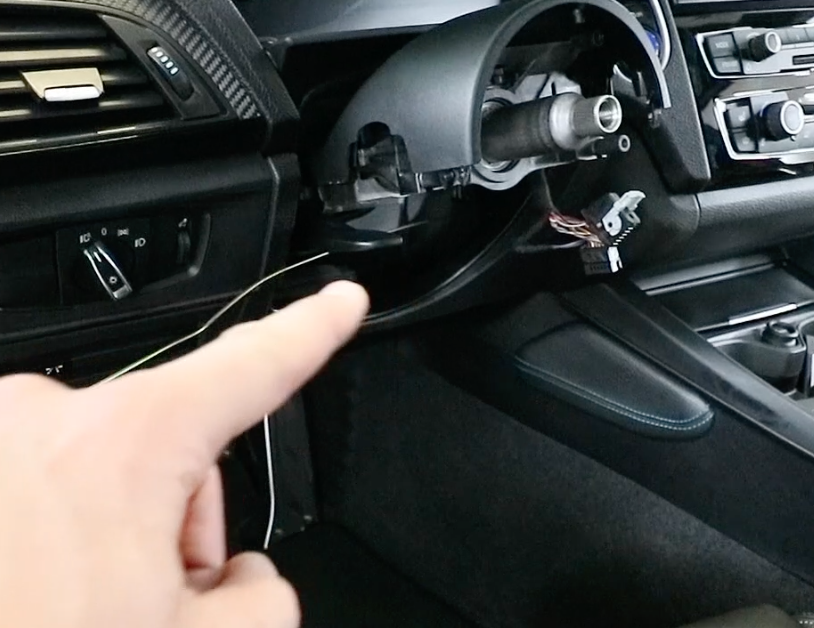
Grab a dull screwdriver, we are going to now remove the airbag from the steering wheel. There are two holes on both, each on one side of the steering wheel column. You are going to insert the screwdriver into each hole one at a time and push in a spring loaded clip. This clip, when press properly will release each side of the airbag. This might take a few tries, do not keep jabbing around in there if you can’t find it right away. Just back the screwdriver out and insert again. You will know once you find the right spot, the airbag will release on each side.


These images below show precisely the spring that you are moving..


Now we will unplug the airbag connection, use a flathead screwdriver on the top portion of the clip. This will release the plug. Take the Airbag, set it aside somewhere safe.


Now we will remove the steering wheel trim, BMW refers to this as “The Finishing Piece” or “Finisher Trim”. There are three T20 Torx screws. Two are in the steering assembly where you just removed the airbag. One is at 9 o’clock and the other is at 3 o’clock. The last T20 is directly behind the steering wheel under the bottom portion of the wheel, just behind my “M” Badge. Remove all three.


To remove the entire trim, there are a series of clips around it. These are brittle and a bit tough to undo. I used a pick tool from the inside and managed to remove the trim without damaging anything. Take your time, you will get it eventually. Peel back the trim, there may be some adhesive on the lower portion, mine had this. Just peel it back and off of the steering wheel.


Next remove the two plugs left in the steering assembly. Use a pick tool and pull gently to release.


Now we will remove the steering wheel by taking out the 16mm bolt in the center. I used my impact and it worked like a charm.


Pull the steering wheel towards you, be careful not to spin any of the steering wheel hub assembly electronics.


Set both wheels side by side so you can clearly see what goes where and how your electronics will need to be setup.

We will need to transfer all of the multimedia buttons over. To do this, there are two T20’s on each side on the back of the wheel. Remove those, these are both going to come out as one piece. There is a connection cable tying them together.


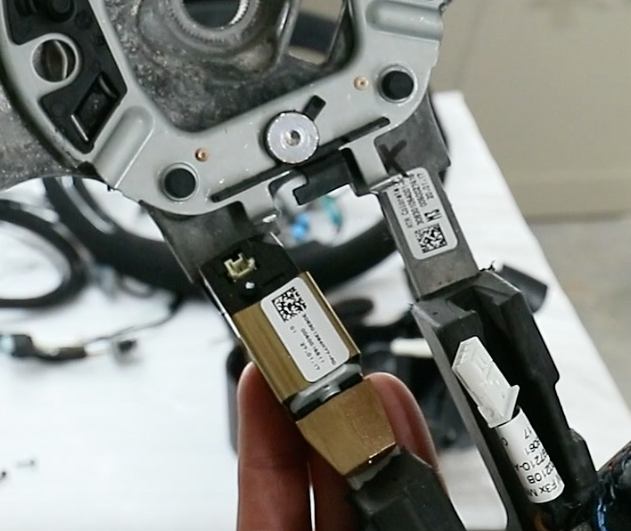
You can now remove the entire backing plate that is plastic, set that aside. We will now remove the vibration mechanism. It’s the gold piece on the lower left side of the steering wheel. This is held on by a gold clip, use a pick tool to pry each side of the clip until it comes off. This retrofit package does come with a new clip however mine was perfectly fine to reuse. Go ahead and clip the vibration mechanism onto your new wheel.


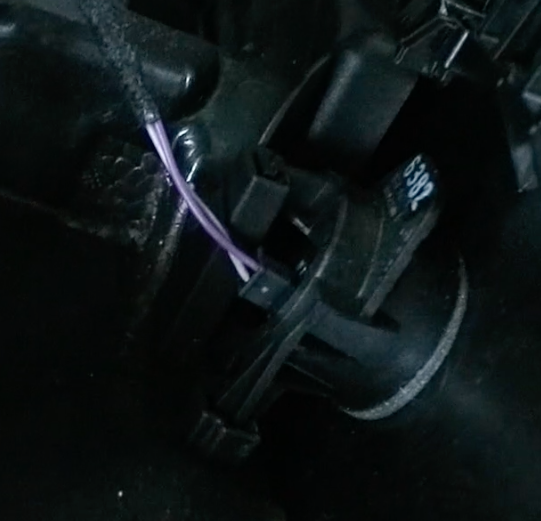
If your stock steering wheel is heated, you will be losing that. The M Performance wheel does not have heat due to the electronics ran for the digital race display. Here in North Carolina, we don’t really have much of a winter so this was a non-issue for me. However, if you rely on heat in your steering wheel, this may not be the wheel for you. Take the white plug for the heat and tuck it into the rubber canal, it will rest there.

If you have paddle shifter, the blue plug with the white and black wires will be your connections for those. My car is manual, I simply tucked these away as they will not be used.

The rest of the connections are rather self explanatory. Same setup as your previous wheel, if you are confused here at all refer to the manual by BMW that is linked HERE . That should help guide you.
Next we will remove the steering wheel electronics hub assembly in the car. I used a pick tool. There are small clips inside that hold the top and bottom pieces together. I was able to loosen these from the inside of the assembly while pulling the top piece up and then the bottom piece down. Inside of the assembly connected to the bottom piece there are two plugs, remove those.


Now we can access the four 7mm screws holding in the electronics hub. Remove all four. All on the back you will find two plugs, one of which has a locking mechanism. To unlock this, simply press down on the tab and pull down on the lock. The plug will now release from the assembly. Remember this plug, it will be tapped into with our new lead wire on the wiring harness that comes with the retrofit kit. Set the assembly aside, we will now move over to the passenger footwell area. This is where we are going to be working on most of the wiring for this install.


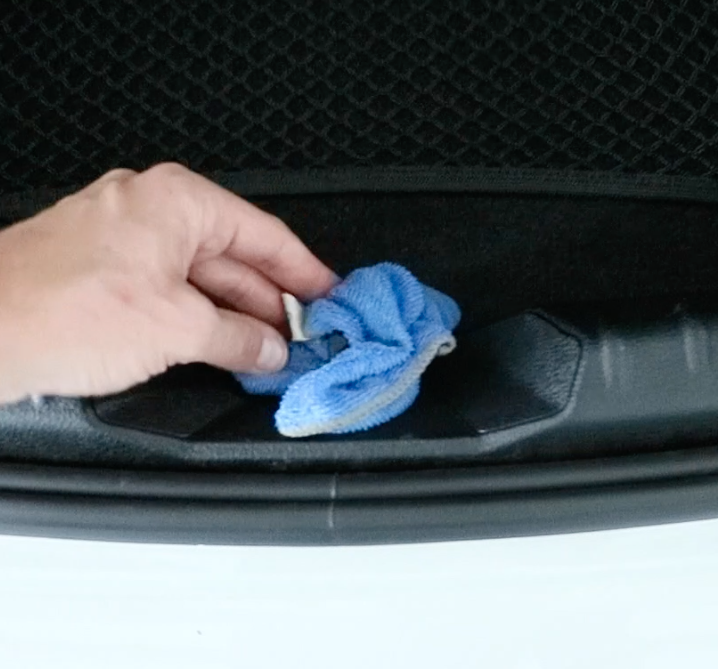
Moving over to the passenger footwell, there are three plastic pieces that we will be removing in order to access the front electronic module. One of them is directly under the glove compartment and is held in by two 10mm nuts and a few clips. There is also a footwell light connected to this piece, unplug that and remove the entire plastic piece from the car (remember this footwell light, we are going to be tapping our ground wire into the brown ground wire for voltage later on). The next two are near the door jam. One is cover the front electronic module, it is the plastic piece just to the right of your foot if you were seated. The last piece is running along the door sill, it is a plastic cover. These are both held in by rather strong clips. Remove all of these, you can do this with your hands just don’t lose any clips that may fly off in the process.


Now we need to run one of the wires off of our wire loom from the passenger side of the car to the driver’s side steering column. In order to do this, grab your coat hanger. Bend the coat hanger as straight as you can so it will reach from the driver’s side to the passenger’s side. You will be sticking the coat hanger into the driver’s side steering column well and fishing it through the back of the lower portion of the dash. The goal here is to land it under the glove compartment so you can grab it and tape the wire lead onto it then pull the coat hanger back through effectively running your wire. This might take a while, be patient and keep working the coat hanger. Don’t jab away in there if it isn’t moving forward. Just pull it back and out and reinsert until you find the proper canal. Done right, you’ll find the passenger side with ease. Once you see the coat hanger under the glove compartment, grab it with a pliers and bend it down so we can tape the wire to it.


Once the coat hanger is in the open, grab your blue/white lead wire off of the wiring harness supplied by BMW. This is the wire that has a ton of slack and has a lead on the end of it. Tape the lead end to the coat hanger very well with electrical tape. You can now start pulling the coat hanger back through from the driver’s side until your taped lead wire comes out the other side.


Now we will be connecting the blue and white lead wire to the latching connector that I recalled earlier when removing the steering wheel electronics hub assembly. You will need to expose the plug from it’s latch casing. Use a pick tool and release the casing. Once the plug is free, you will see a “1” and a “6” labeled on the connector. We are sliding our blue and white lead wire into pin slot #4. On my car, this is directly to the right of the Lime and white wire. Insert the blue and white lead wire into slot #4, slide the latch casing back on and head back over to the passenger footwell.


In the passenger footwell, you will see a greyish black cover held in tact by one T20 and two clips. Remove the cover. Then release CON2, this is the first plug in the series. It has a latching system similar to the steering hub assembly plug we just worked on, unplug CON2 and release it from the main module.


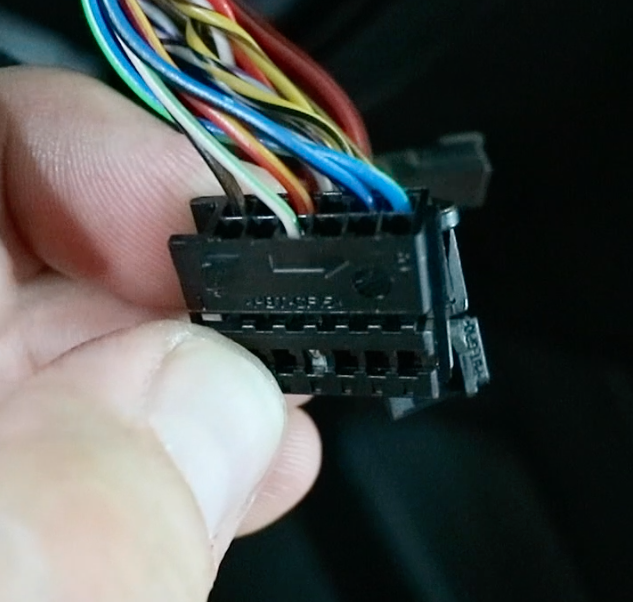
Next you will remove the latch casing to expose two connectors inside. One is grey and one is black. The grey connector is where we are focused. There are two wires we are looking for, a red wire in slot 18 and a blue wire in slot 19. These slots are numbered, you will see a 14 and a 21. Count your way to slot 18 & 19.


We will be removing these two wires and inserting the NEW Blue and Red wires on our Supplied BMW Wiring Harness into those spots. The two wires that we will be removing will then connect via a black plastic plug that was also supplied in your retrofit kit (You will need to insert the lead wires you just removed from CON2 into that new plug) The plug you have just created will now connect into the harness supplied by bmw. It is a bit tough to explain, so let me show you..


Next to CON2 you will find another latching plug, this is CON3. Remove this the same way we did CON2 and expose the two plugs inside. One will be brown and one will be blue. The blue one is our focus. On this plug, you are searching for Pin 19. It is a red and blue wire. Take the black wire tap supplied in your retrofit package. We will be tapping the green wire that is coming out of our new retrofit harness with red and blue wire in 19. Make sure to use a pliers so the tap is completely seated and your connections are good. You might find it easier to pull back a bit of the wire loom coming out of CON3 to allow for more slack. That is what I did.


Next we will tap our ground wire. This is the brown wire coming out of our new retrofit harness. I tapped this into the footwell light ground wire, which is also brown. BMW states to find a ground behind the footwell module however I didn’t feel like peeling apart more layers. You are just looking for a low voltage ground, and that is exactly what this is. Seemed to work perfectly fine for me. Tap into the ground, tape it up well.

Now we will attach our control unit supplied by BMW to the latch plug that is on our Retrofit harness, also supplied by BMW. This will be stashed near the footwell module with the remaining wire loom.

Lastly, you will have one remaining plug that will go unused (It is optional). This connection is a 2D lap triggering measure sensor and it is for the BMW service team if you are out on a track and you are racing. You will not need this for this install and it will be stored away with the rest of the loom.

Congrats, this was the toughest part of the install. You can now put everything back together, use zip ties to tidy things up. I stored everything under the footwell module and zip tied the longer cable that connects to the driver’s side underneath the glove compartment. Make sure to reinstall all of your panels with the clips ON the plastic pieces first. If the clips are attached to the car, remove them and attach them to the panels and then reinstall the panels to the car. This will make your life much easier.
Head back to the driver’s side and plug back in your steering hub electronic assembly with the connectors that we previously removed. Then you can reconnect the upper and lower plastic pieces that clip together.


Now we can install the new steering wheel. There is a notch on the hub and a cutout notch in the center of the wheel, the wheel should only fit on the hub one way. Insert the wheel back onto the hub. Use an impact to tighten the 16mm hub bolt fastening the wheel to the hub.


Plug your multimedia connections back into the steering wheel hub assembly. There are two plugs.


Reinstall the finishing piece trim, three 20mm torx and a few clips. Then take your airbag, plug it into the final slot open on the hub assembly. Before pressing it in, be sure there aren’t any wires in the way of the back of the bag or the springs where the bag will latch into. Once you have a clear path, press firmly from the front of the bag into the wheel and it should snap into place effortlessly.


And you my friend, are finished. Reconnect your battery, remove all of the towels. Sit back and stare for an hour like I did, playing with all of the incredible functions that this wheel has to offer. Make sure to nerd out for another 2 hours reading the function manual supplied in your retrofit kit. Your mind will be blown away with everything that this wheel can do.

If you would like to watch the full video install of this wheel on my channel, you can do so here: (Coming Soon)